Current Location: Home /
How do I accept a transaction on Trust Wallet?
Published: 2025-01-18
To accept a transaction on Trust Wallet, open the app, go to the “Wallet” tab, find the transaction, and click “Accept” or “Confirm.” Follow any prompts to complete the action.
Understanding Trust Wallet Transaction Process
What is a Transaction in Trust Wallet?
- Sending/Receiving Digital Assets: A transaction in Trust Wallet refers to the process of transferring digital assets, such as cryptocurrencies, between wallets or addresses. This can be sending or receiving various tokens, including Bitcoin, Ethereum, and others.
- Blockchain Interaction: Each transaction is recorded on the blockchain, making it secure and traceable. When you initiate a transfer in Trust Wallet, the transaction is broadcasted to the respective blockchain network for verification.
- Transaction Fee: Every transaction on Trust Wallet usually involves a network fee, which is paid to miners or validators for processing the transaction. The fee varies depending on the blockchain and network congestion.
Why is Transaction Confirmation Important?
- Ensures Security: Confirming a transaction guarantees that it was valid and authorized. Without confirmation, there is a risk of transaction errors, double-spending, or fraudulent activity.
- Prevents Fraud: Transaction confirmation ensures that no unauthorized changes can be made to your assets. It acts as a safeguard against any malicious attempts to interfere with your crypto holdings.
- Network Consensus: Blockchain networks rely on a confirmation process to maintain a decentralized system. It ensures that everyone agrees on the transaction’s validity and prevents issues such as the “double-spending” problem.
Steps to Accept a Transaction in Trust Wallet
Open Trust Wallet and Navigate to the Wallet Tab
- Launch Trust Wallet: Open the Trust Wallet app on your device. If it’s your first time using the app, make sure you’ve backed up your wallet with a secure recovery phrase.
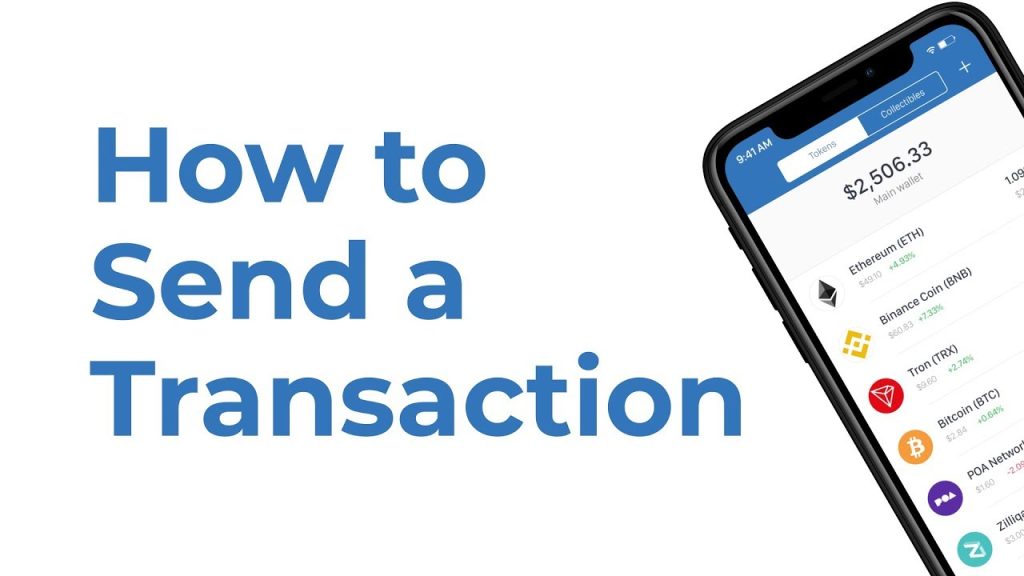
- Locate the Wallet Tab: Once the app is open, navigate to the “Wallet” tab. This is where you can view all your assets, including cryptocurrencies and tokens.
- Check for Incoming Transactions: Under the “Wallet” tab, you will find details of your assets and any pending or recent transactions. If there’s a pending transaction waiting for confirmation, it will show up here.
Confirm and Accept the Transaction Prompt
- Review the Transaction Details: After selecting the pending transaction, you will be prompted to review the details. This includes the amount, sender’s address, and network fee. Always double-check to ensure the transaction is legitimate.
- Confirm the Transaction: Once you’ve reviewed everything, click on the “Accept” or “Confirm” button, depending on the type of transaction. This will authorize the transaction and send it to the network for validation.
- Transaction Finalization: After confirming, the transaction will be processed. You’ll receive a notification once the transaction is confirmed by the blockchain, and the funds will be reflected in your wallet.

How to Verify a Transaction on Trust Wallet
Using Transaction ID to Confirm Status
- Find the Transaction ID: When you complete a transaction in Trust Wallet, you’ll receive a unique transaction ID (TXID). This ID is available in the transaction details or as a link after you’ve confirmed the transaction.
- Check on Block Explorer: Copy the transaction ID and paste it into a blockchain explorer specific to the cryptocurrency you sent or received (e.g., Etherscan for Ethereum). This will show the transaction’s status and confirmation count.
- Confirm Transaction Details: By using the TXID, you can verify the sender’s address, the amount sent, and the network fee. It also helps confirm whether the transaction has been successfully processed or if there’s a delay.
Checking Transaction History in Trust Wallet
- Access the Wallet Tab: Open Trust Wallet and go to the “Wallet” tab. Here, you will find your wallet balance and all your transaction history for each asset.
- View Recent Transactions: Scroll through the transaction history to find the specific transaction you want to verify. Each transaction will show details like the date, amount, and the current status (pending, completed, or failed).
- Filter Transactions by Network: If you have multiple cryptocurrencies, use the search or filter options to sort by a specific network or asset. This helps you find the relevant transaction if you’re tracking an asset like Bitcoin or Ethereum.

Security Tips for Accepting Transactions on Trust Wallet
Enable Two-Factor Authentication
- Extra Layer of Protection: Enabling two-factor authentication (2FA) adds an additional security layer to your Trust Wallet. With 2FA, even if someone has access to your wallet password, they still need the second factor (usually a code sent to your phone) to gain access.
- Choose a Reliable 2FA App: Use a reputable app like Google Authenticator or Authy for generating your 2FA codes. Avoid relying on SMS-based authentication as it can be vulnerable to SIM swapping attacks.
- Always Keep 2FA Backup: Ensure you store your 2FA backup codes in a safe place. This will help you regain access to your wallet if you lose your device or if the 2FA app is uninstalled.
Be Cautious of Phishing Scams
- Avoid Suspicious Links: Never click on links from unknown sources or unsolicited emails claiming to be from Trust Wallet or cryptocurrency platforms. Phishing scams often trick users into revealing sensitive information.
- Check Website URLs: Always ensure you’re on the official Trust Wallet website or using the legitimate app. Fake websites might look similar but have different URLs, aimed at stealing your login details.
- Beware of Pop-up Messages: Trust Wallet and most reputable platforms will never ask you for your private key, recovery phrase, or 2FA codes through pop-ups or unsolicited messages. Always double-check before entering any information.
How to Cancel or Reject a Transaction in Trust Wallet
Cancelling Pending Transactions
- Pending Transactions Are Difficult to Cancel: In most cases, once a transaction is pending on the blockchain, it cannot be directly canceled from Trust Wallet. However, if the transaction hasn’t been confirmed by the network, it may be possible to speed it up or replace it using a higher gas fee.
- Use Replace by Fee (RBF): If you’re using Bitcoin or similar cryptocurrencies, Trust Wallet allows you to increase the gas fee for a pending transaction, a process known as “Replace by Fee” (RBF). This can encourage miners to prioritize your transaction over others.
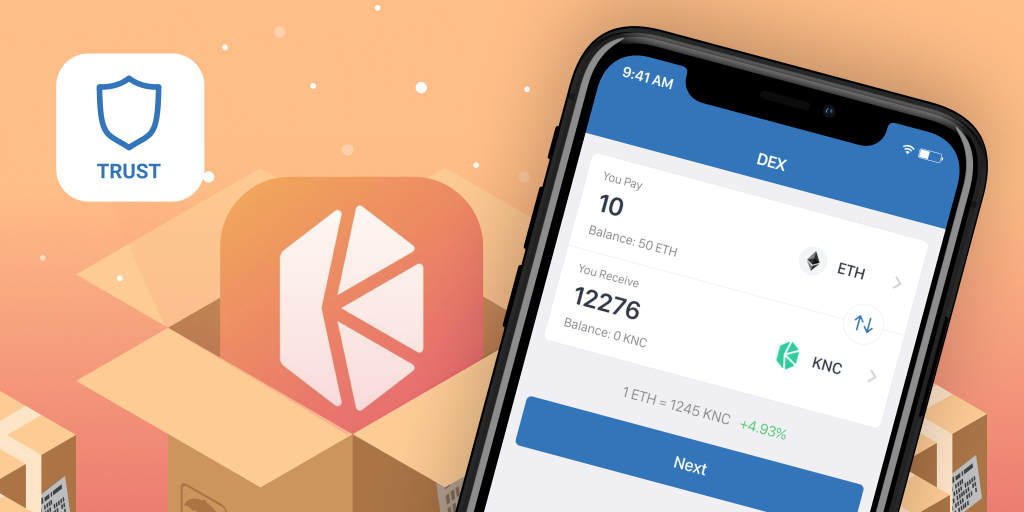
- Cancel Using a Different Wallet or Platform: If the transaction was initiated through a DApp or exchange linked to your Trust Wallet, some platforms may offer a feature to cancel or stop a pending transaction within their interface, but not all transactions are reversible.
Understanding Failed Transactions
- Transaction Failure Causes: A transaction can fail due to reasons like insufficient funds, network congestion, or incorrect details such as an invalid recipient address or low gas fees. Trust Wallet will typically display an error message or status indicating that the transaction has failed.
- Review the Error Message: Trust Wallet provides specific error codes or messages when a transaction fails. These messages can help you identify the issue, such as a lack of funds to cover the gas fees or an incorrect network configuration.
- Retrying the Transaction: If the transaction fails due to insufficient funds or network congestion, ensure that you have enough balance to cover both the amount and the associated fees. You can also retry the transaction after resolving any issues, ensuring you double-check the transaction details before resubmitting it.
What happens if I don’t accept a transaction on Trust Wallet?
If you don’t accept a transaction on Trust Wallet, the transaction will remain pending in your wallet until you confirm it. If not confirmed within a certain time, it may eventually be canceled, depending on the network and transaction type.
How long does it take to accept a transaction on Trust Wallet?
The time it takes to accept a transaction on Trust Wallet depends on the blockchain network's speed and congestion. Once you accept the transaction, the confirmation usually takes from a few seconds to a few minutes, but network congestion can cause delays.
Can I cancel a transaction after accepting it on Trust Wallet?
Once you accept a transaction on Trust Wallet and it is broadcast to the network, you cannot cancel or reverse it. It is crucial to double-check transaction details before accepting to avoid errors or mistakes.